DSMLP
Access DSMLP Using SSH
You will use the UCSD Data Science / Machine Learning Platform (DSMLP) to get access to a GPU.
You can login to DSMLP using by ssh USERNAME@dsmlp-login.ucsd.edu. Your username and password are the same as your UCSD account. You can set up an ssh key that allows you to more easily login.
Follow the steps in this link to generate a key pair (Follow the guide till step 3 under ‘Adding your SSH key to the ssh-agent’).
DSMLP uses containers to set up its software environment. You must create a container that provides access to a GPU with CUDA installed using the command
launch.sh -g 1 -s -i ghcr.io/kastnerrg/cse160-opencl:dsmlp -W CSE160_WI26_A00 -P Always
Note
If you run into issues while getting GPUs in DSMLP, you can use -n #, e.g., -n 1, to avoid that node until we can reset it.
Check the GPU status here DSMLP STATUS
Important
You can request a specific GPU type by appending -v GPU_TYPE to the command above. For example, to request a GTX 1080Ti GPU, you would use -v 1080ti. You can see the available GPU types on the DSMLP STATUS page.
Important
If you encounter an out of memory issue (e.g. OOMKilled), you can request more RAM when creating the pod by appending the -m amount in GiB to the launch command above.
For example, to request for 8 GiB of system RAM (sufficient for all assignments), use -m 8.
Note
To request a pod with CPU only, set the -g flag to 0; e.g. -g 0
Once you have the container, try running the command nvidia-smi and clinfo -l to see if you have access to a GPU.
# First, let's see if we have access to cuda
nvidia-smi

# Next let's make sure OpenCL is found.  This should return multiple.
# Note that this includes both CPU and GPU OpenCL implementations
clinfo -l
Now you can compile and run the Makefiles in the PA directories.
Please be considerate on your use of the GPUs. The GPUs in DSMLP are shared within this class and across campus. If you are not actively using the GPU, you should shut down the container to allow others to access it.
Access DSMLP Using VSCode
1. Create SSH Key and Add to DSMLP
Create an SSH Key on your local machine and append the public key to DSMLP’s ~/.ssh/authorized_keys file. Follow the steps in this link to generate a key pair (Follow the guide till step 3 under ‘Adding your SSH key to the ssh-agent’).
After generating the key, append it to DSMLP using:
ssh-copy-id -i ~/.ssh/id_ed25519 your-username@dsmlp-login.ucsd.edu
Make sure to replace your-username with your actual UCSD username.
2. Install VS Code
Install VS Code if you haven’t already: VS Code Download
3. Install Remote-SSH Extension
Install Remote-SSH plugin by searching for it in the extensions view.
Extension Identifier: ms-vscode-remote.remote-ssh
4. Configure SSH Connection
Login to DSMLP using the terminal as shown above.
While logged in, run the following command to create a script that launches the container with GPU access which we will use in VSCode:
echo '#!/bin/bash' > start-vscode.sh
echo '/opt/launch-sh/bin/launch.sh -c 2 -m 8 -H -g 1 -s -i ghcr.io/kastnerrg/cse160-opencl:dsmlp -W CSE160_WI26_A00 -P Always -N vscode-dsmlp' >> start-vscode.sh
chmod +x start-vscode.sh
While still logged in, type :code:++`pwd` to get your home directory path on DSMLP and note it down for later use.
Click on the indicator on the bottom left corner
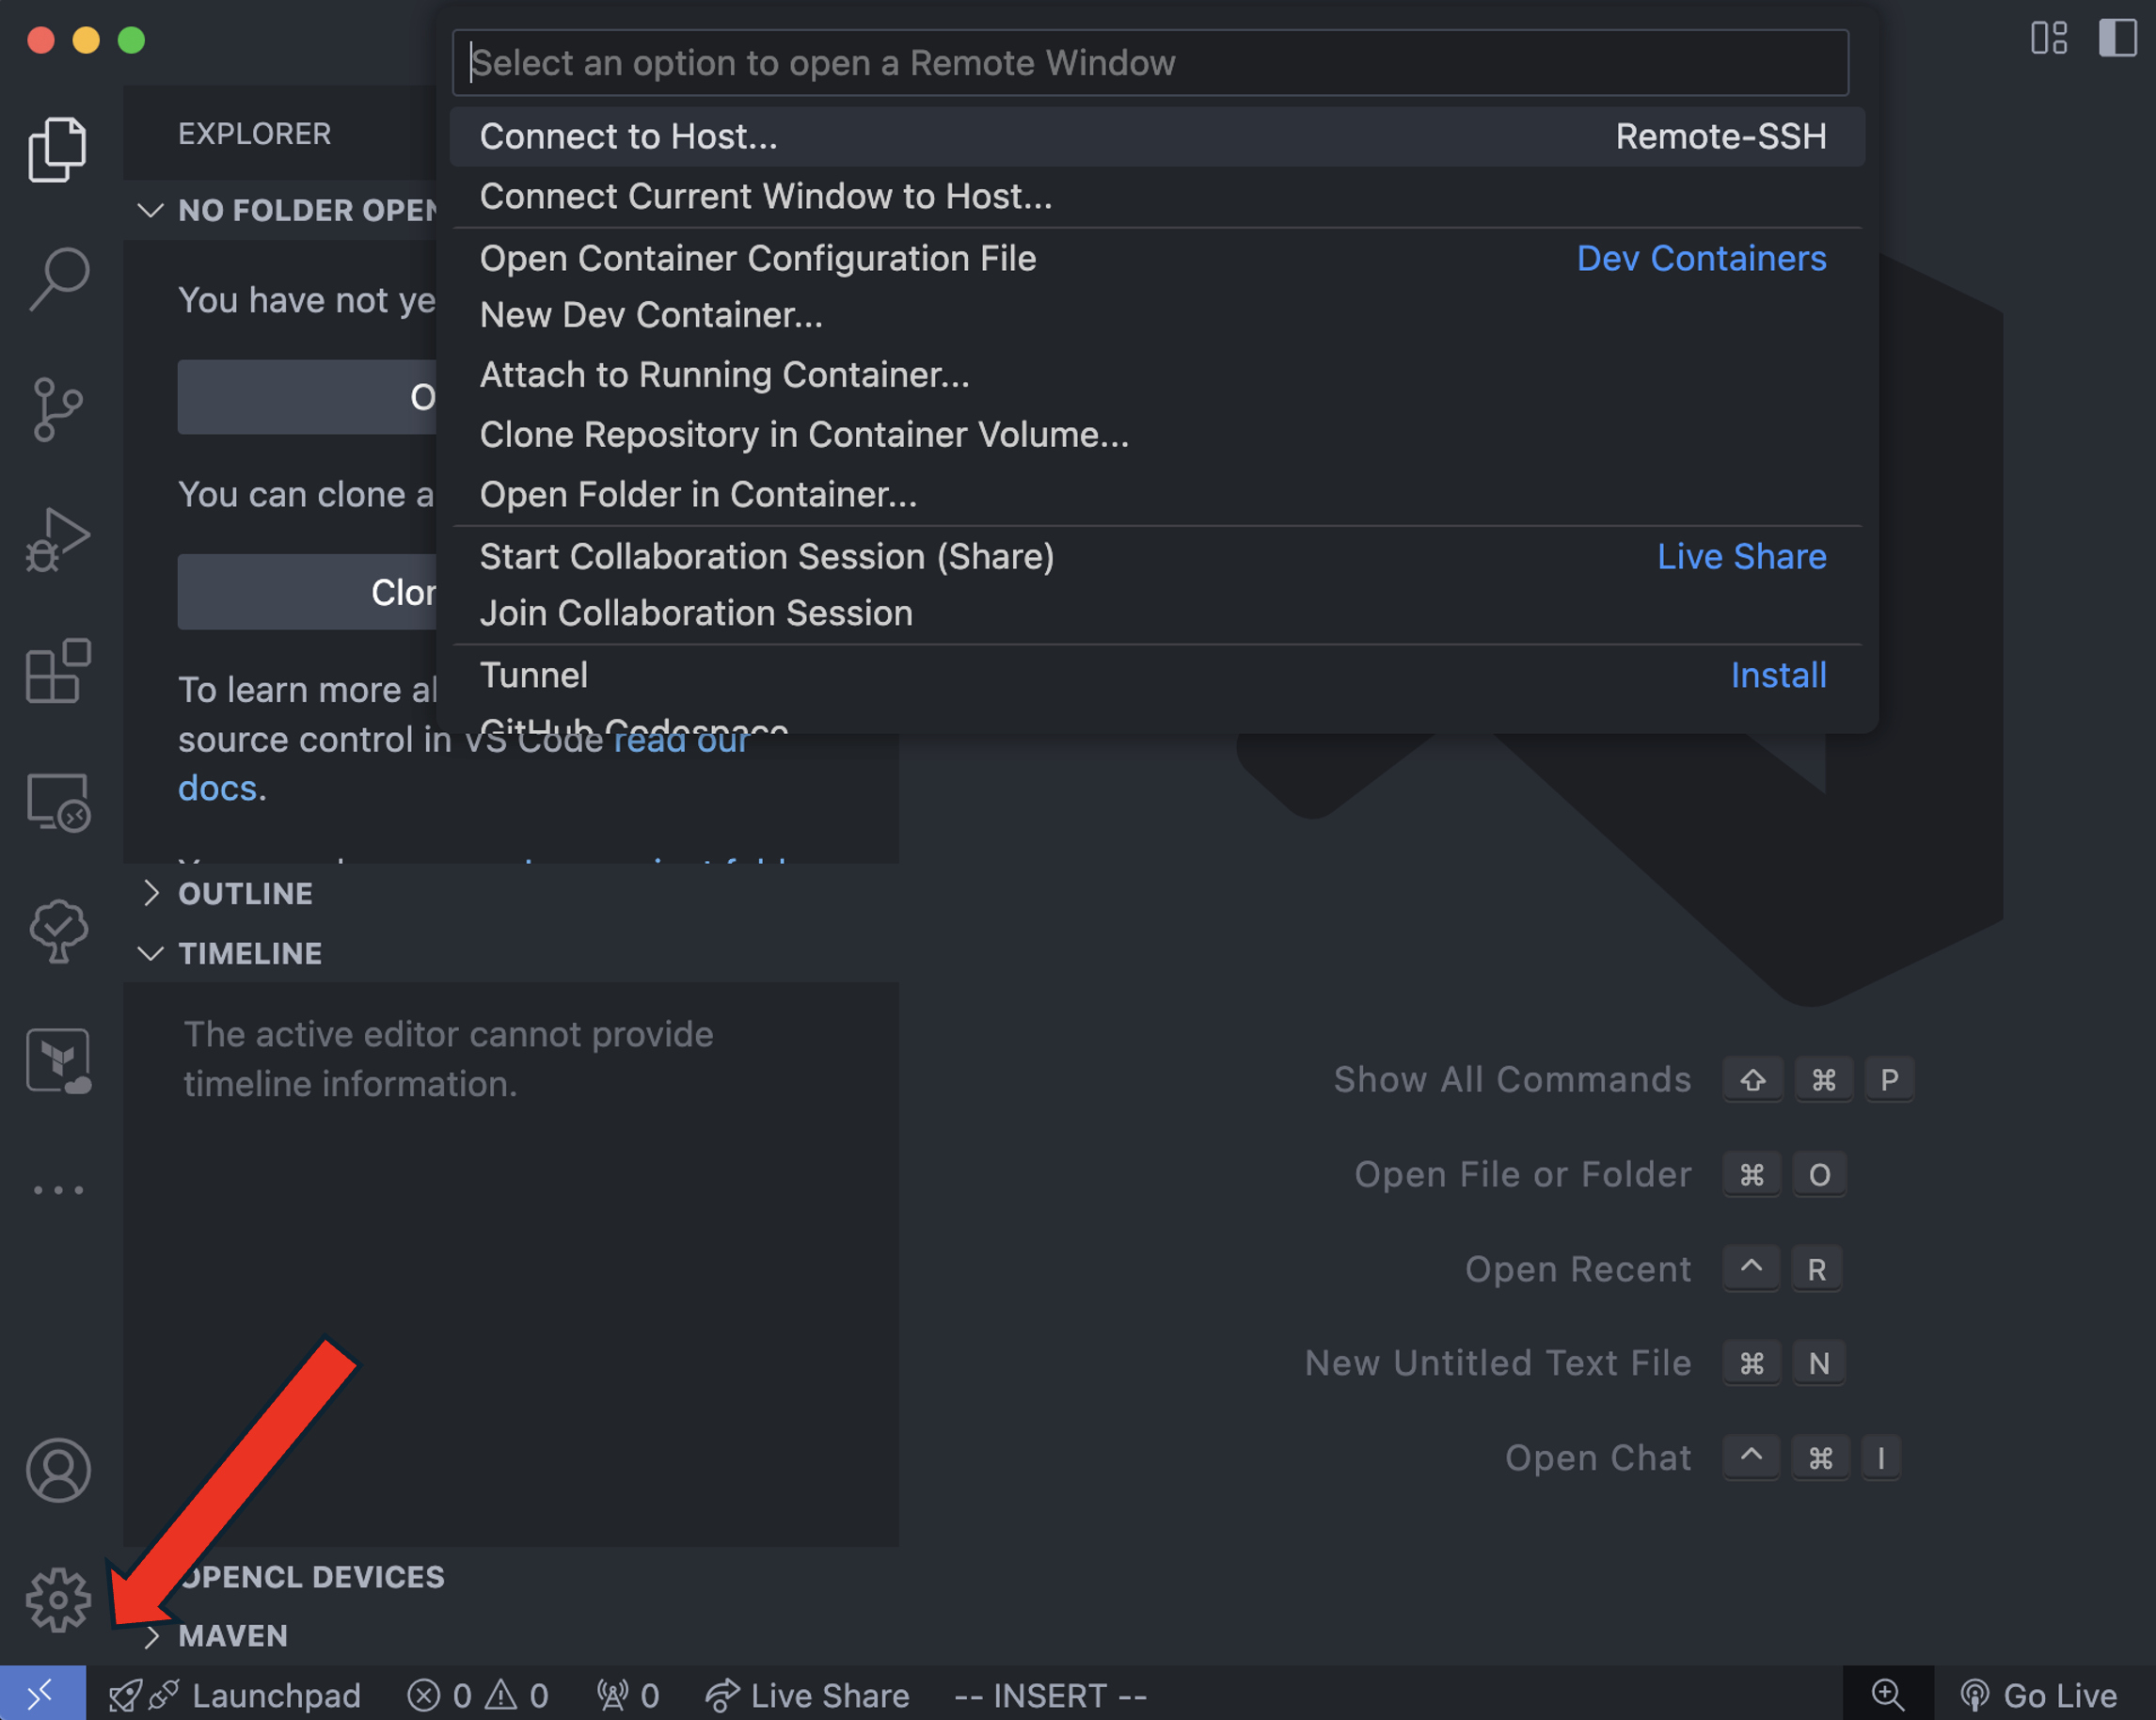
Click on
Connect to Host...Click on
Configure SSH Hosts...Click on the
Users/name/.ssh/configAdd the following lines (make sure to change
<your-username>to your username and<home-directory>to your home directory on DSMLP, e.g.,/home/username/):
Host vscode-dsmlp
    HostName dsmlp-login.ucsd.edu
    HostKeyAlias vscode-dsmlp
    IdentitiesOnly yes
    User <your-username>
    ConnectTimeout 100
    ProxyCommand ssh -i ~/.ssh/id_ed25519 <your-username>@dsmlp-login.ucsd.edu <home-directory>/start-vscode.sh
Save the configuration
Click on the >< key at the bottom left corner and then click on
Connect to Host...You should see a
vscode-dsmlpoption. Click on it to start your session. You may get a popup window asking what os, always select linux as you are connecting to a linux machine.You may be asked to insert the passphrase you created - do that and happy coding!
You may get an error if you already have a pod attached with a GPU. Make sure you aren’t running any jobs on DSMLP when connecting with vscode. This isn’t a container, so make sure to clone your github repo into DSMLP. Commit always and often.
Important Notes
You already have access to GPU infrastructure on DSMLP; i.e. it starts a container with GPU access and loads it with a software image that contains CUDA and other basic packages. You must be within GPU container in order to properly compile. If you get an error about not having access to nvcc, then you are not in the container. Please only use the container when you are compiling and release it when you are completed.
Note When you close VSCode, the kubernetes pod is not released automatically. You have to manually delete the pod using:
kubectl delete pod <pod_name>
To find your pod’s name, you can run:
kubectl get pods
and find all the pods open. Once you do this, you will be able to use the terminal for launching a new container if you want.